tralinggigs
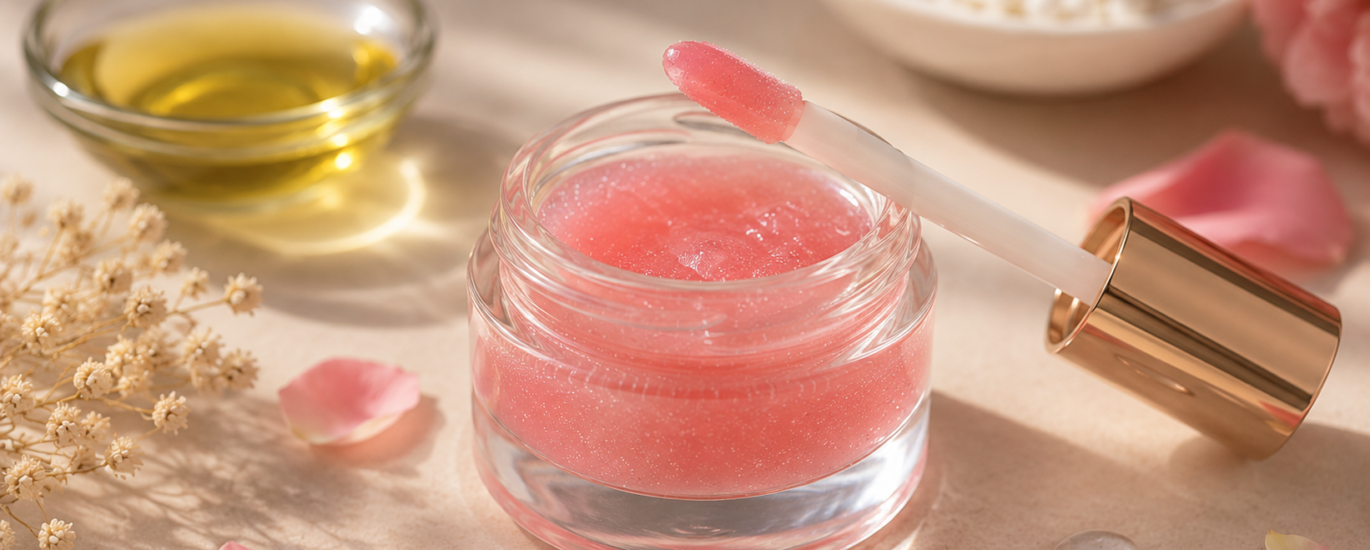
There is something deeply satisfying about pulling out a lip gloss, swiping it on, and knowing that you made it yourself from scratch. I first got into homemade DIY lip gloss during a slow weekend when I was going through my makeup bag and realized I had spent a ridiculous amount of money on tiny tubes that were mostly petroleum jelly with a hint of shimmer. That was the moment I decided to take matters into my own hands literally.
What started as a curiosity project quickly became one of my favorite beauty rituals. I now have a collection of custom glosses in flavors, tints, and finishes that I have personally crafted to match my mood, my outfits, and my skin tone. If you have ever wanted to try making your own lip gloss at home, this guide is everything I wish someone had handed me when I first started. From the base ingredients to the most creative recipes, I am going to walk you through the whole process with the confidence of someone who has made every beginner mistake so you do not have to.
You will also like the keratin treatment for curly hair.
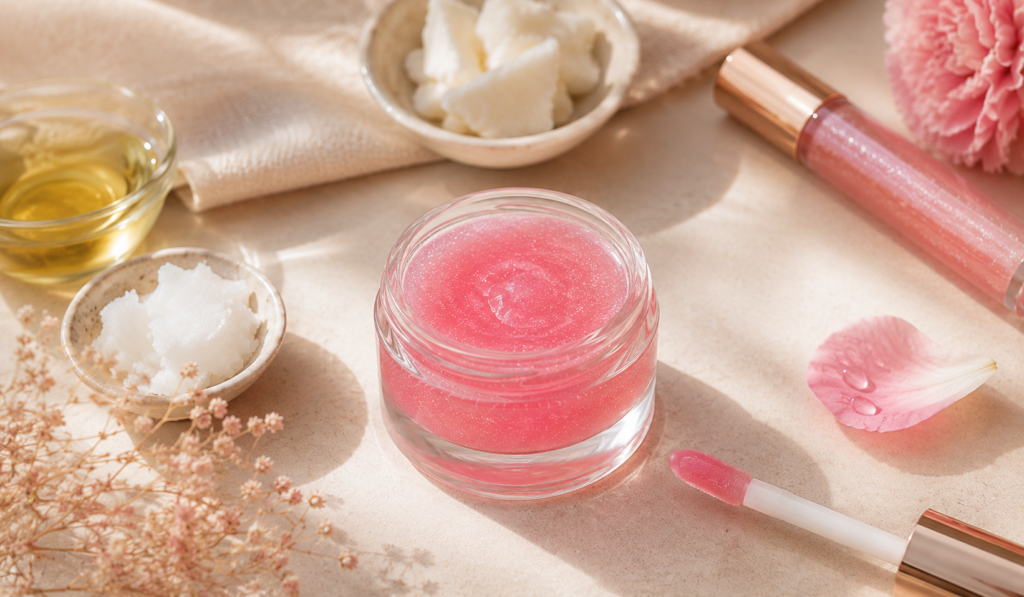
The first thing that pulled me toward homemade lip gloss was the ingredient list. When I turned over a store-bought gloss one afternoon, I could not pronounce half of what was written on the label. I am not someone who is obsessive about clean beauty, but something about not knowing what I was putting on my lips every single day made me uncomfortable.
Homemade lip gloss gave me complete control. I know exactly what goes into every batch natural oils, plant-based waxes, skin-safe pigments, and flavoring extracts that are all lip-approved. There are no mystery preservatives, no synthetic fragrances that trigger headaches, and no ingredients I cannot identify.
Beyond the ingredient transparency, the cost difference is remarkable. A single batch of homemade lip gloss using quality ingredients costs a fraction of what I used to spend on a single designer tube. I now make multiple shades at once, gift them to friends, and always have a fresh supply ready to go.
The customization factor is what truly sealed the deal for me. I can make a clear gloss for everyday wear, a deep berry tint for an evening out, a pink shimmer for a fashion-forward look, or a vanilla-mint flavored gloss just because it makes me happy. No commercial brand can offer that level of personalization.
Before I share my favorite recipes, let me walk you through the core ingredients that appear in almost every homemade lip gloss formula. Understanding what each ingredient does will help you make smarter substitutions and customizations later.
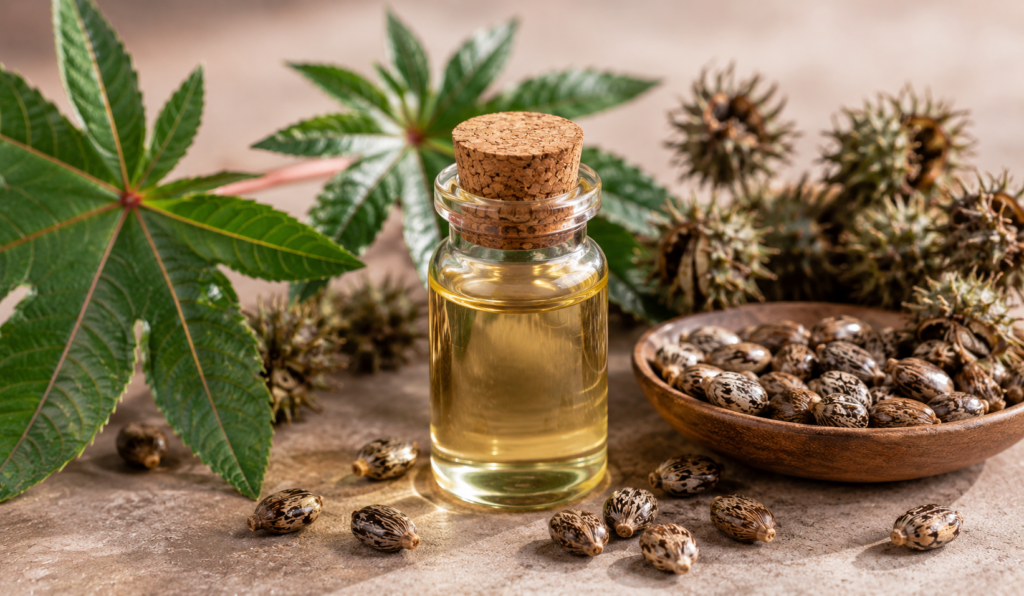
Castor Oil — This is the secret weapon of homemade lip gloss. Castor oil is thick, viscous, and incredibly glossy, which is exactly why it forms the backbone of most DIY gloss recipes. It creates that high-shine, wet-look finish that makes a gloss feel like a gloss rather than a balm.
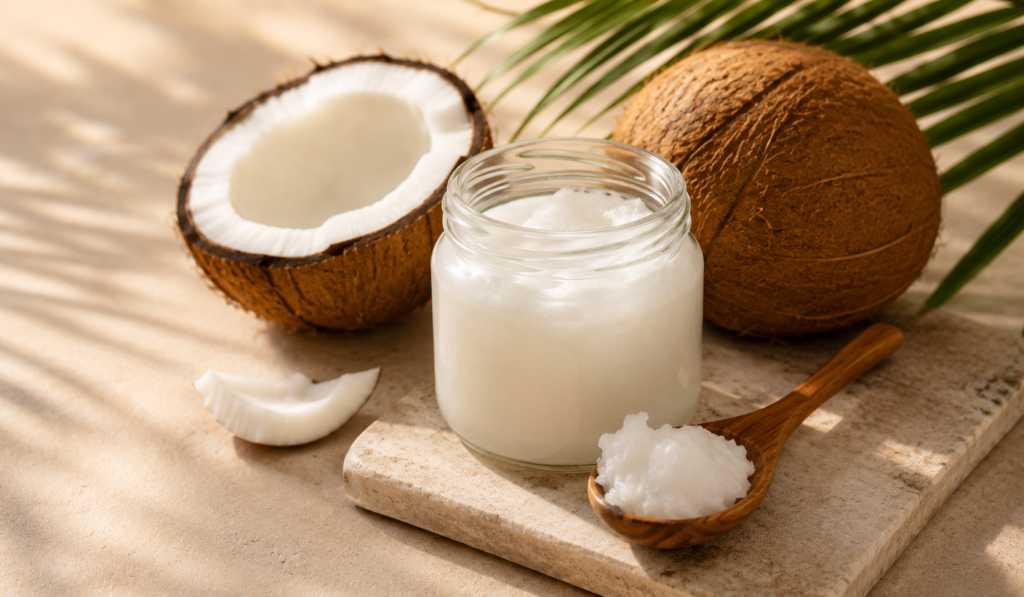
Coconut Oil — A lightweight moisturizer that melts on contact with the lips. It adds slip to the formula, prevents dryness, and carries a subtle natural scent that pairs beautifully with flavoring oils.
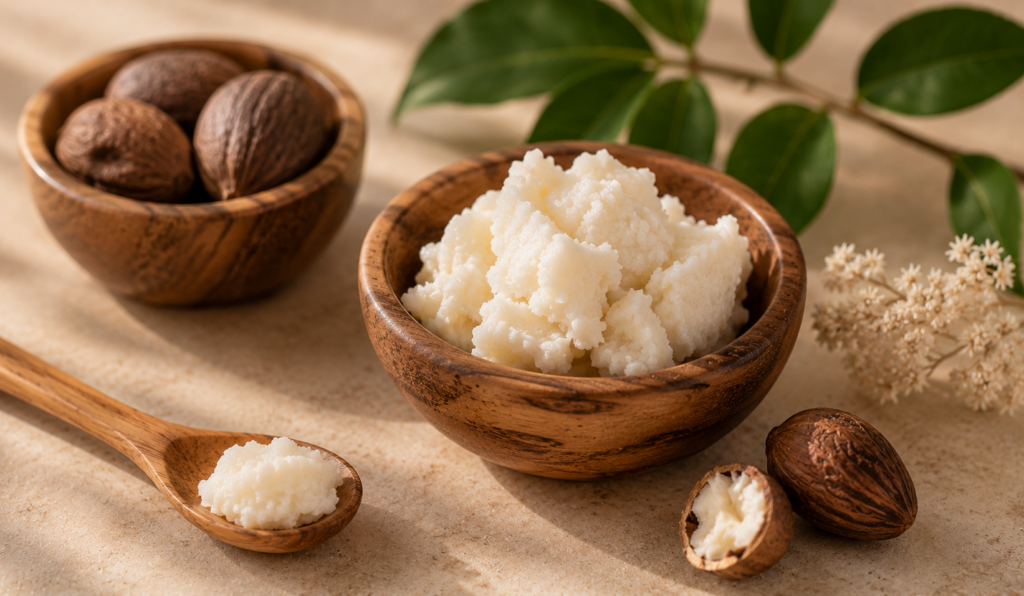
Shea Butter — Rich, nourishing, and deeply moisturizing. Shea butter gives a homemade gloss a creamy, comfortable texture that does not feel sticky or heavy. I always include it in my recipes because it transforms the lip feel from greasy to luxurious.
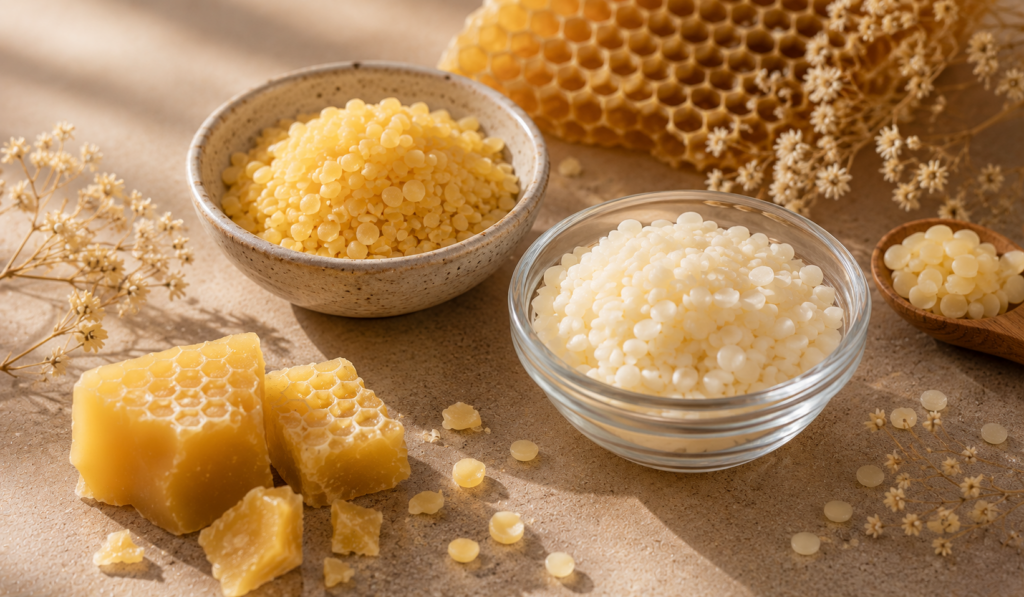
Beeswax or Candelilla Wax — Wax is what gives the gloss structure and helps it cling to the lips rather than sliding off immediately. Beeswax is the traditional choice, while candelilla wax is the plant-based alternative for anyone making a vegan formula.
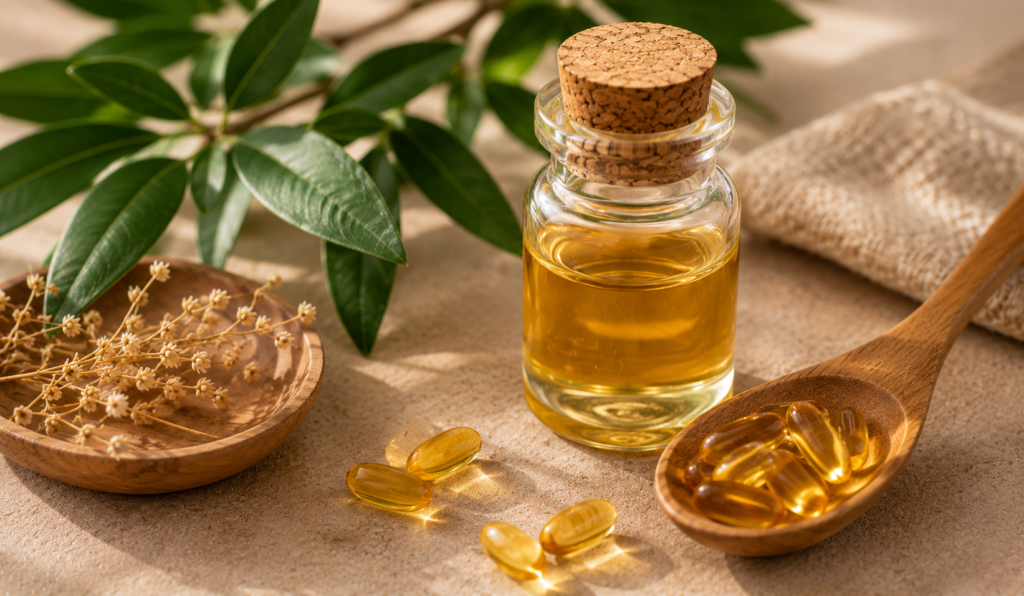
Vitamin E Oil — A natural preservative that also deeply conditions the lips. I add a small amount to every batch to extend shelf life and boost the nourishing properties of the gloss.
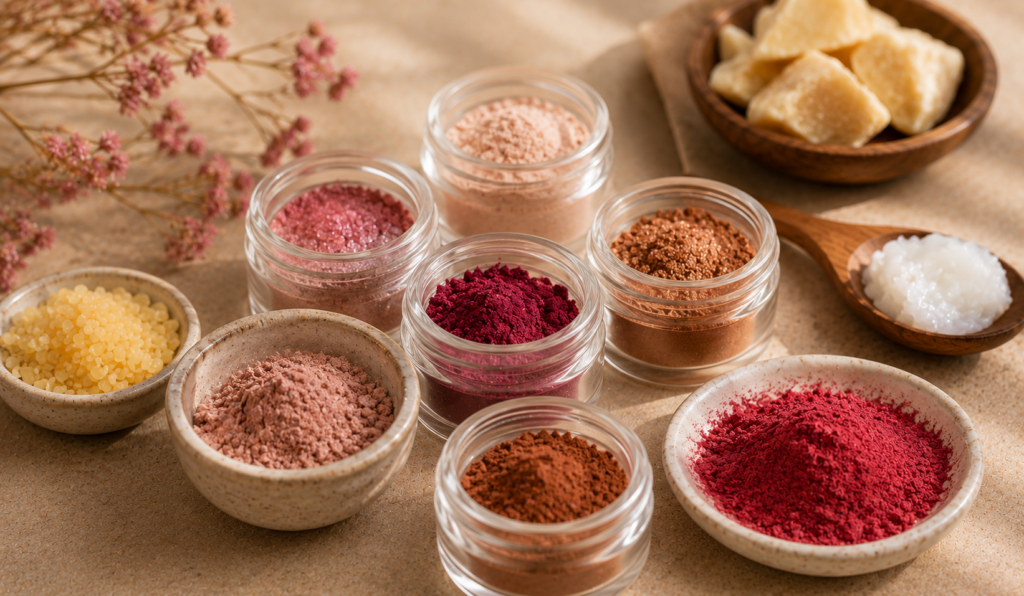
Lip-Safe Pigments — Mica powder, cosmetic-grade glitter, or powdered beetroot for tint. It is critical to use only pigments that are specifically approved for lip use, as many eyeshadow pigments are not safe for the mouth area.
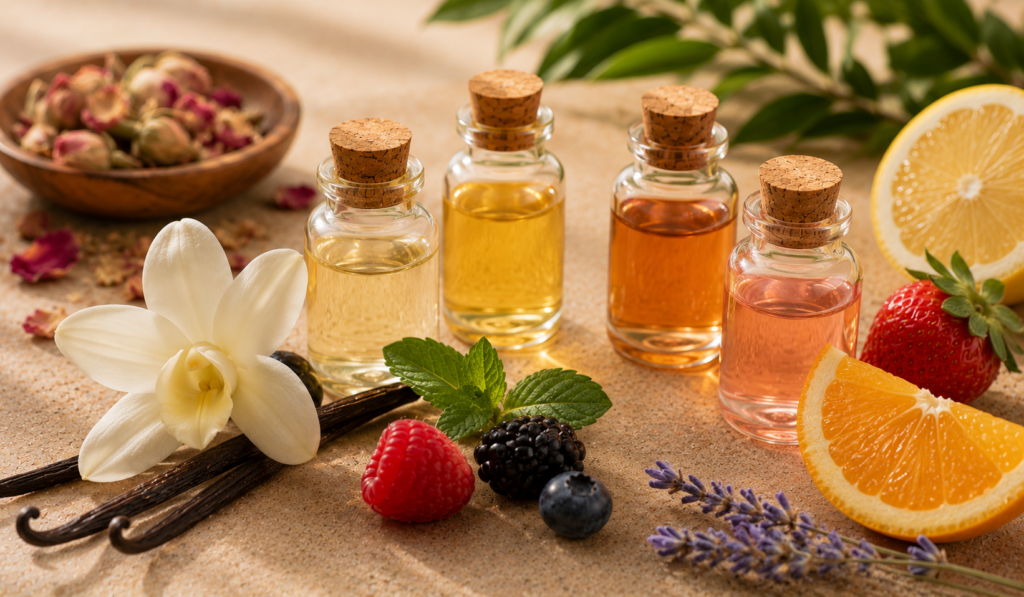
Flavoring Oils — Peppermint, vanilla, strawberry, raspberry, coconut the options are endless. Always choose lip-safe flavoring oils rather than essential oils, as some essential oils are too potent or irritating for the lips.
Now for the part I know you have been waiting for. Here are three of my most-made, most-loved homemade lip gloss recipes, each one designed for a different look or occasion.
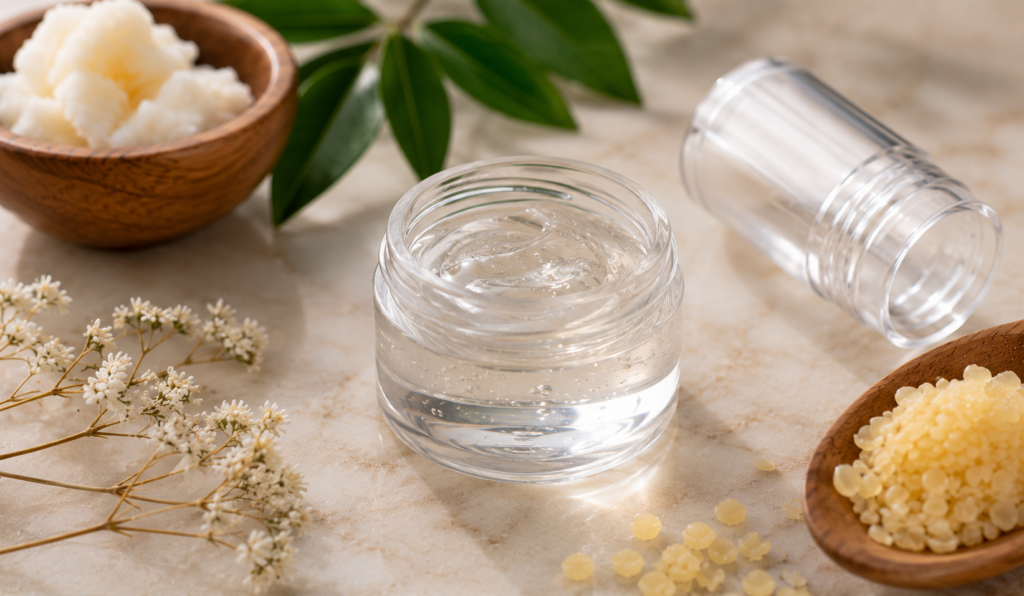
This is my everyday recipe simple, shiny, and incredibly nourishing. I make a big batch of this clear gloss and keep it by my bedside, in my bag, and on my bathroom counter.
Combine one tablespoon of castor oil, one tablespoon of coconut oil, half a tablespoon of shea butter, a small piece of beeswax roughly the size of a pea, and four to five drops of vitamin E oil in a heatproof bowl. Melt everything together over a double boiler on low heat, stirring gently until fully combined. Remove from heat, add a few drops of your chosen flavoring oil, stir well, then pour into small lip gloss tubes or pots. Allow to cool completely at room temperature before using.
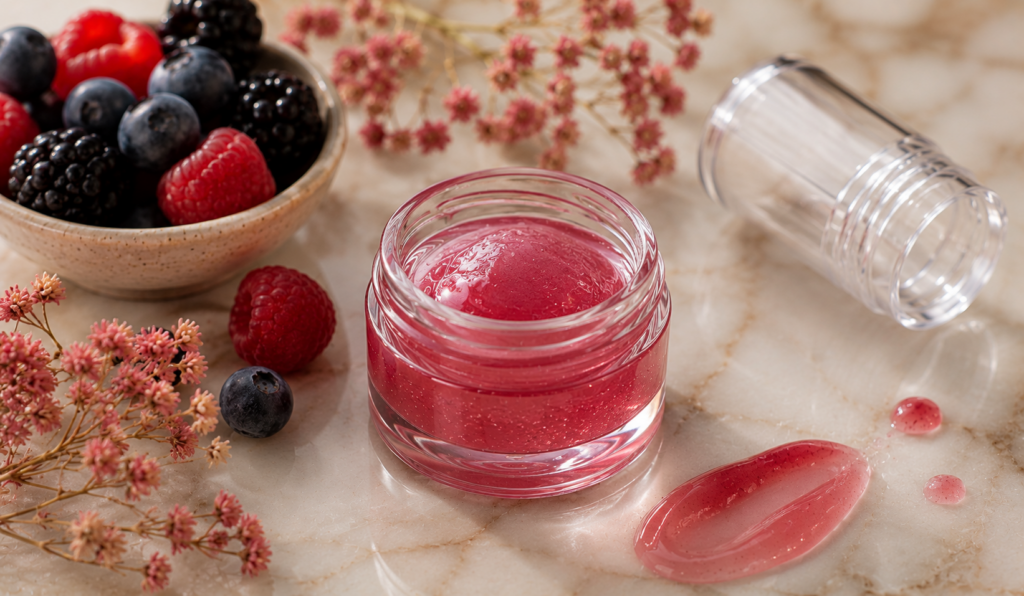
This is the recipe I reach for when I want something with a little color payoff but still want the glossy, fresh-lip finish rather than the opacity of a lipstick.
Follow the same base as Recipe One, then add half a teaspoon of lip-safe mica powder in a raspberry or plum shade before pouring into tubes. Stir thoroughly to ensure the pigment is evenly distributed throughout the mixture. For a deeper, richer tint, add a tiny pinch of cosmetic-grade beetroot powder alongside the mica. The result is a beautifully flushed, glossy lip that looks effortlessly editorial.
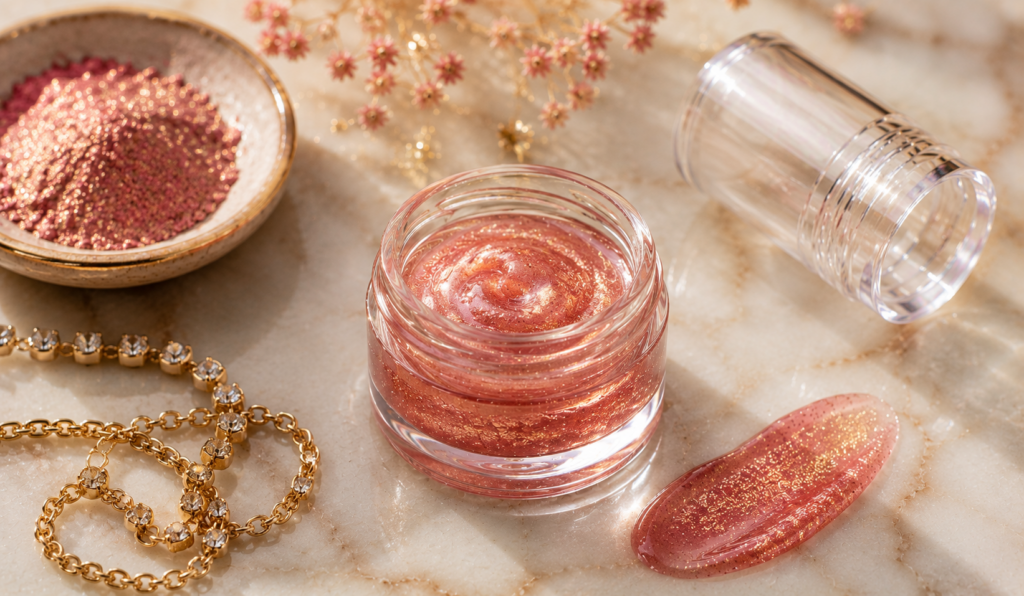
This is my showstopper recipe the one I wear to events, parties, or any time I want my lips to be the focal point of a beauty look.
Use the classic clear base, then stir in a quarter teaspoon of fine cosmetic-grade shimmer or holographic glitter (lip-safe only) just before pouring. I personally love a champagne gold shimmer for a warm, glowing finish, or an iridescent white shimmer for a cool, ethereal look. A few drops of vanilla or rose flavoring oil complete the experience.
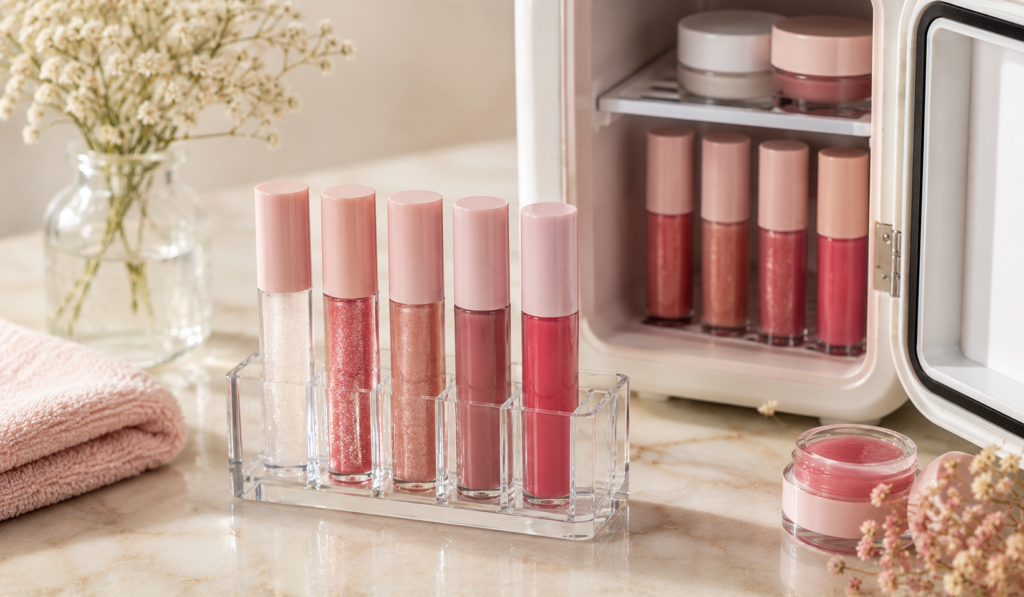
One of the most common questions I receive from friends who try making their own lip gloss for the first time is about storage. Proper storage makes all the difference between a batch that lasts two months and one that goes rancid in two weeks.
I always store my homemade glosses in small, airtight containers either lip gloss tubes with tight caps or small glass pots with screw-top lids. I keep them away from direct sunlight and heat, which can cause the oils to separate or go off more quickly. A cool, dry drawer or a dedicated beauty shelf works perfectly.
Because homemade lip gloss does not contain commercial preservatives, I make small batches rather than large ones and use each batch within four to six weeks. The vitamin E oil I include in every recipe helps slow oxidation, but it is not a substitute for a proper preservative system. If you notice any change in smell, color, or texture, discard the batch immediately.
Labeling each pot with the date of creation is a habit I developed early on, and I highly recommend it. A small sticker with the batch date takes ten seconds and saves a lot of guesswork later.
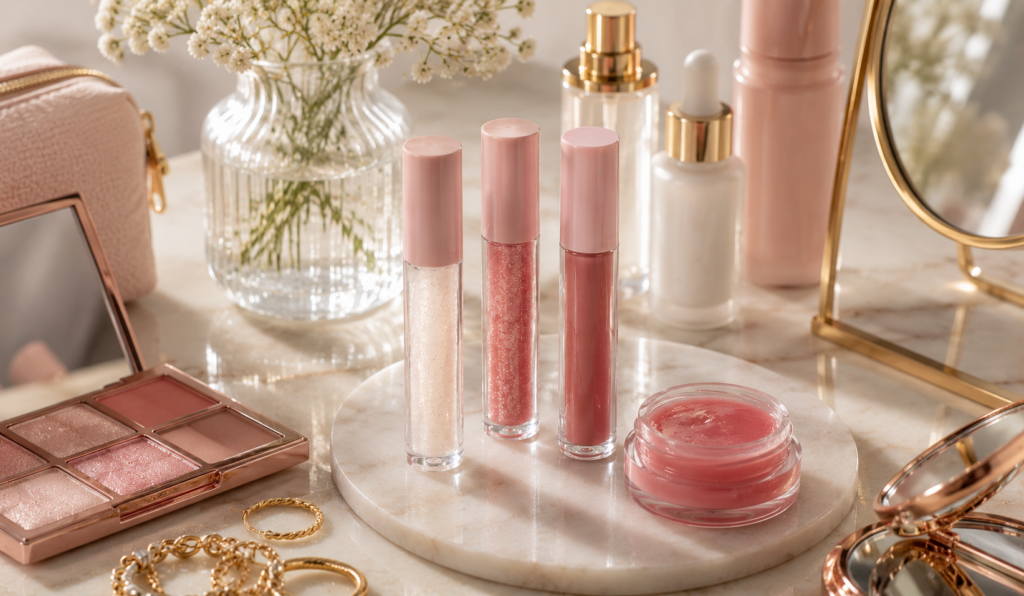
What I love most about homemade lip gloss as a fashion accessory is the way it allows me to coordinate my beauty look with my wardrobe in a way that no store shelf could ever fully support. When I am wearing a bold red outfit, I mix a sheer red tint gloss. When I am going for a soft, romantic look, I reach for my pink shimmer batch. When I want my makeup to feel skincare-forward moisturized, dewy, barely-there my clear gloss with a touch of vanilla does the job perfectly.
The glossy lip trend has made a powerful return in recent fashion cycles, with the juicy, high-shine look appearing across runway shows and editorial shoots in 2026. Homemade gloss allows me to ride that trend in a way that feels personal rather than mass-produced. My lips look like my lips, but elevated which is exactly the aesthetic philosophy I believe in.
Beyond the look itself, carrying a homemade gloss feels different. When someone asks what lip product I am wearing and I tell them I made it myself, the reaction is always one of genuine delight. It becomes a conversation starter, a small act of creative confidence that communicates something about who I am.
Q: Is homemade lip gloss safe to use?
A: Yes, provided you use ingredients that are specifically approved for cosmetic use on the lips. Always purchase your pigments, flavoring oils, and glitters from reputable cosmetic suppliers rather than craft stores, as craft-grade materials are not formulated for skin or lip contact.
Q: Can I make a vegan homemade lip gloss?
A: Absolutely. Simply replace beeswax with candelilla wax or carnauba wax in equal amounts. Both are plant-derived, vegan-friendly, and work beautifully in lip gloss formulas.
Q: How long does homemade lip gloss last?
A: When stored properly in a cool, dry place, most homemade lip gloss recipes last between four to six weeks. Adding vitamin E oil extends this slightly. If the gloss smells off or the texture changes, discard it.
Q: Can I add SPF to my homemade lip gloss?
A: Adding reliable SPF protection to a homemade formula is genuinely difficult without professional testing equipment, as SPF efficacy depends on precise formulation. I recommend applying a lip-safe SPF balm underneath your homemade gloss for sun protection rather than trying to incorporate it into the recipe itself.
Q: What containers work best for homemade lip gloss?
A: Small lip gloss squeeze tubes, flat-top applicator tubes, or mini glass pots with tight lids all work well. I personally prefer squeeze tubes with doe-foot applicators for ease of application, but glass pots feel more luxurious and are better for thicker, balm-gloss hybrid formulas.
Q: Can children make homemade lip gloss?
A: Yes, with adult supervision. A simplified recipe using petroleum jelly, coconut oil, and a small amount of lip-safe pigment requires no heat and is a wonderful creative activity for older children. Always ensure all ingredients are non-toxic, lip-safe, certified.
Making your own lip gloss is one of those small creative acts that genuinely changes how you think about beauty. It shifts you from consumer to creator, from passive buyer to intentional maker. Every time I apply a gloss I made with my own hands, I feel a quiet pride that no store-bought product has ever given me and that, more than anything, is why I keep coming back to this ritual again and again.
You will also like the MIDI piercing.


Kesha Smith is a lifestyle blogger passionate about simple living, healthy habits, and everyday inspiration. On this website, you’ll find