

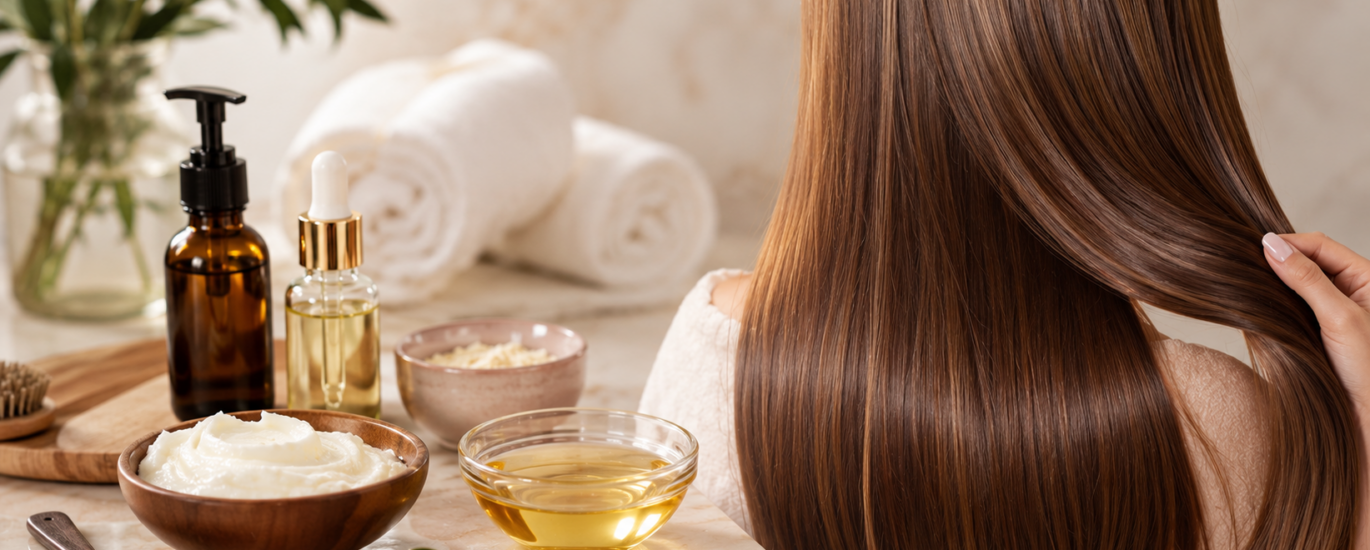
I have a complicated relationship with humidity. The moment I step outside on a warm, muggy morning with freshly styled hair, I can feel the frizz beginning a slow, invisible unraveling of everything I worked to achieve. For years, I dealt with this by booking expensive salon keratin treatments every few months, sitting through hours of heat application, chemical fumes, the whole ordeal. Then one afternoon I started reading ingredient labels more carefully, calculated what I was spending annually on salon visits, and decided there had to be a better way.
That decision led me down a research path that completely transformed my hair care routine. I discovered that a thoughtful, consistent DIY keratin treatment at home using natural, kitchen-friendly ingredients could deliver genuinely impressive results without the formaldehyde, the salon price tag, or the two-hour appointment. Today, my hair is the smoothest, most manageable it has ever been, and I want to share everything I have learned with you.
Whether your hair is frizzy, damaged, color-treated, or simply in need of deep restoration, this guide will walk you through the science, the recipes, the application process, and the fashion-forward styling that becomes possible when your hair finally cooperates with you.
You will also like the homemade body wash.
What Keratin Actually Does for Your Hair
Before diving into the recipes, I think it is worth spending a moment understanding what keratin is because once you understand its role, every ingredient choice in a DIY treatment makes far more sense.
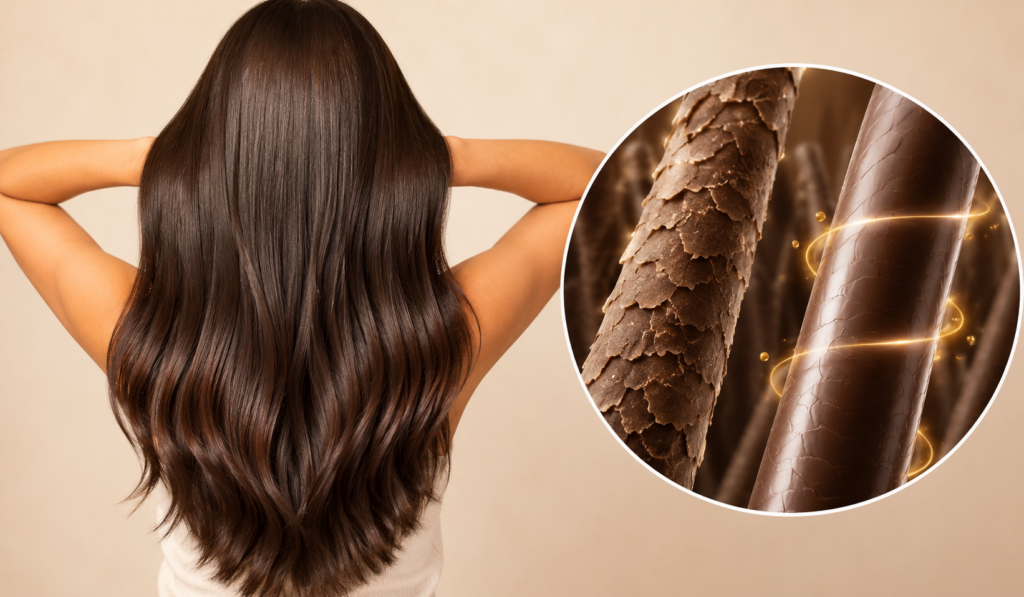
Keratin is the primary structural protein that makes up your hair. It forms the inner cortex of each strand, giving hair its strength, elasticity, and resilience. When hair is healthy, the keratin structure is intact and the cuticle the outermost protective layer of the hair shaft lies flat, reflecting light smoothly and resisting moisture from the environment.
The problem is that daily styling, heat tools, chemical processes, sun exposure, and even hard water gradually break down this keratin structure. The cuticle lifts and becomes rough, frizz intensifies, breakage increases, and the hair loses its natural shine. A keratin treatment, whether professional or homemade, works by temporarily replenishing protein along the hair shaft and smoothing down the cuticle which is why hair feels so dramatically different after a good treatment.
Natural ingredients like eggs, yogurt, banana, rice water, and coconut oil are rich in amino acids, proteins, and fatty acids that mimic or support keratin replenishment. They work from the outside in, coating the hair, filling in damaged areas, sealing moisture, and restoring a degree of the structural integrity that daily life slowly strips away.
Understanding this helped me stop thinking of my DIY treatments as a budget substitute for something better and start recognizing them as a legitimate, nourishing science-backed approach to hair health.
The Natural Ingredients That Power a DIY Keratin Treatment
One of the things I love most about homemade keratin treatments is how the ingredients read like a grocery list rather than a chemistry formula. Here are the key natural ingredients I rely on and exactly what each one brings to the treatment.
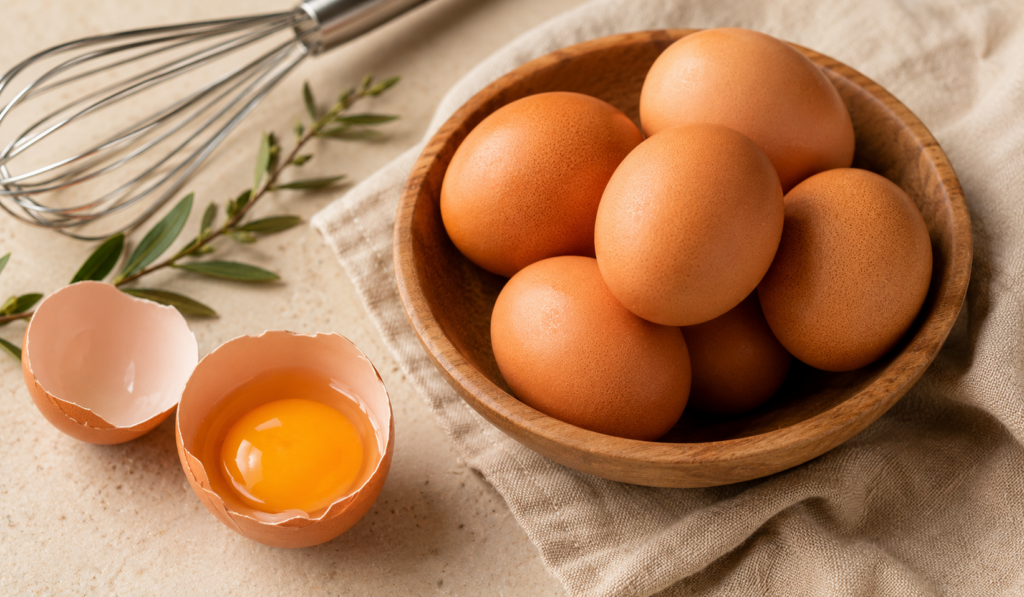
Eggs — Eggs are arguably the most powerful natural keratin source available. They are extraordinarily high in protein and contain both biotin and amino acids, which directly support keratin synthesis. The yolk specifically provides fatty acids that condition deeply while the white delivers structural protein. I use eggs in almost every recipe I make.
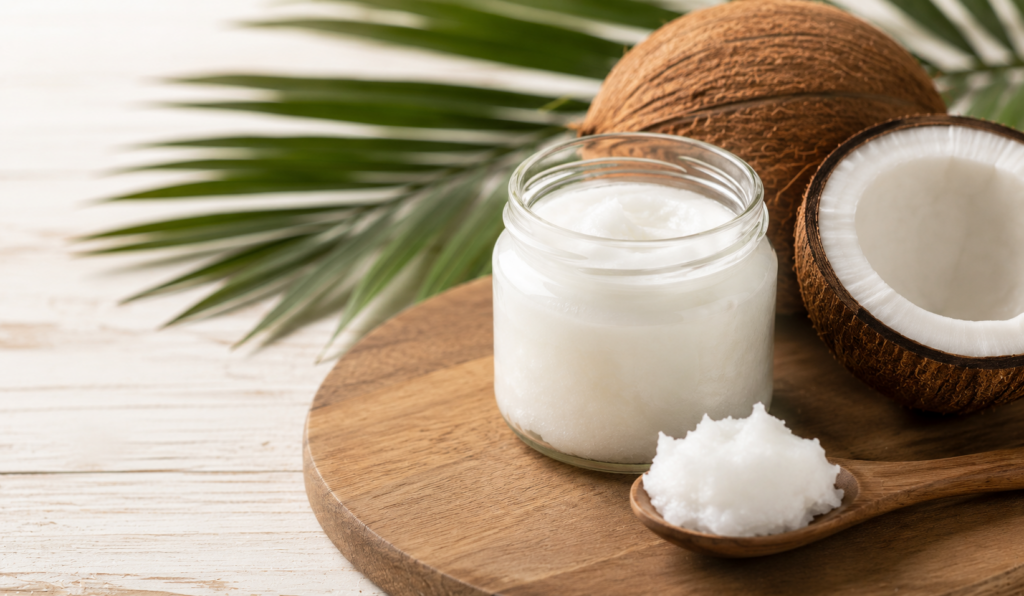
Coconut Oil — A true multitasker in hair care. Coconut oil penetrates the hair shaft more deeply than most other oils because of its low molecular weight. It reduces protein loss, seals the cuticle, adds brilliant shine, and makes hair far more resistant to frizz-causing humidity. I always warm it slightly before application so it flows more easily from root to tip.
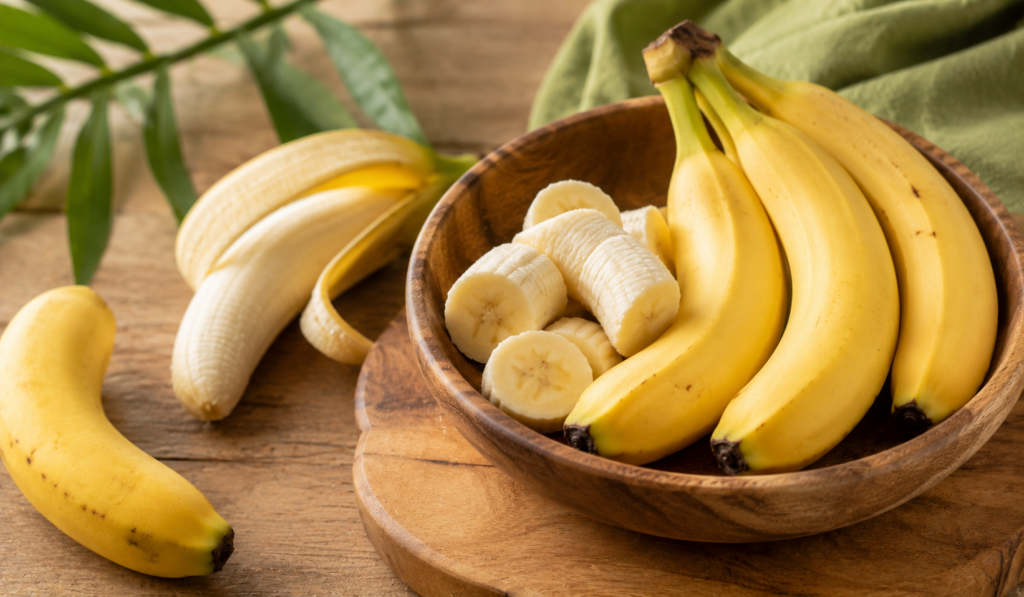
Banana — Far more than a smoothie ingredient, banana is packed with amino acids that replenish lost protein naturally. It also contains potassium and natural silica, which contribute to smoothness and softness. The key to using banana in a hair mask is blending it very thoroughly any lumps will be nearly impossible to rinse out.
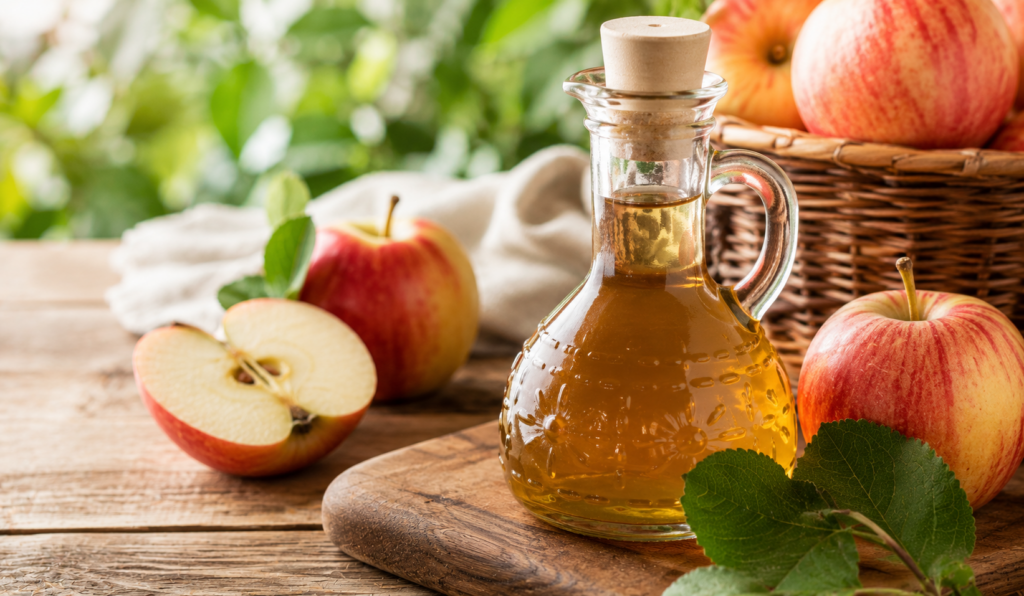
Apple Cider Vinegar — A natural cuticle sealant. When diluted correctly, apple cider vinegar lowers the pH of the hair, which causes the cuticle to flatten and lie smooth. This is exactly the mechanism that makes professional keratin treatments work, replicated naturally. I use it as a final rinse rather than incorporating it into a mask.
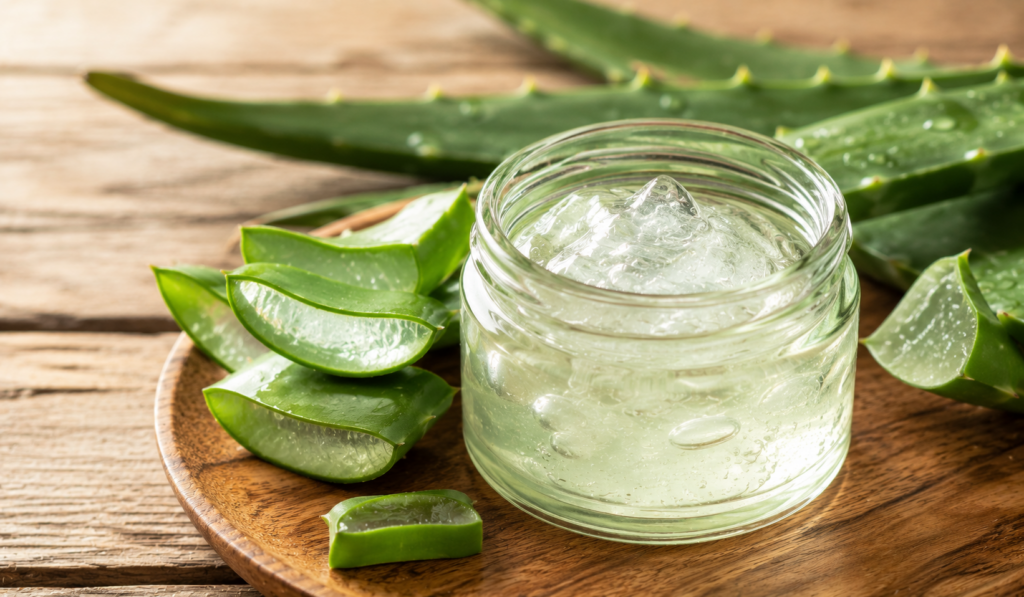
Aloe Vera Gel — Soothing, hydrating, lightweight, aloe vera contains enzymes that remove dead cells from the scalp and improve the health of hair follicles. It also has a similar chemical composition to keratin, which is why it integrates so well into homemade treatment formulas.
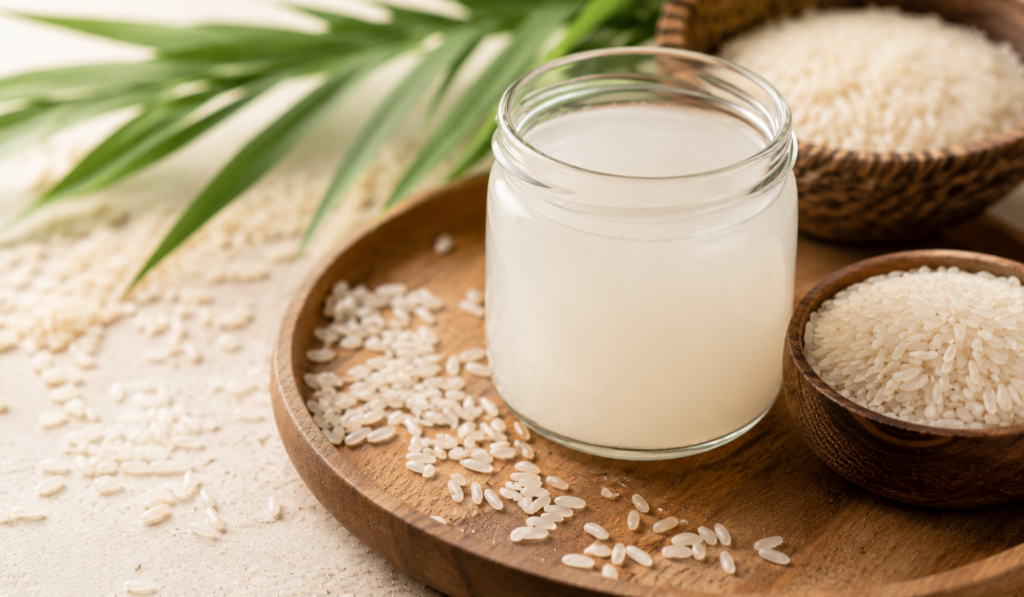
Rice Water — Fermented or plain rice water is rich in inositol, a carbohydrate that can penetrate damaged hair, repair it from within, protect it from future damage, reduce surface friction, increase elasticity, and add an impressive natural shine. Rice water rinses have been used in Asian hair care traditions for centuries, and modern hair science has confirmed why they work so well.
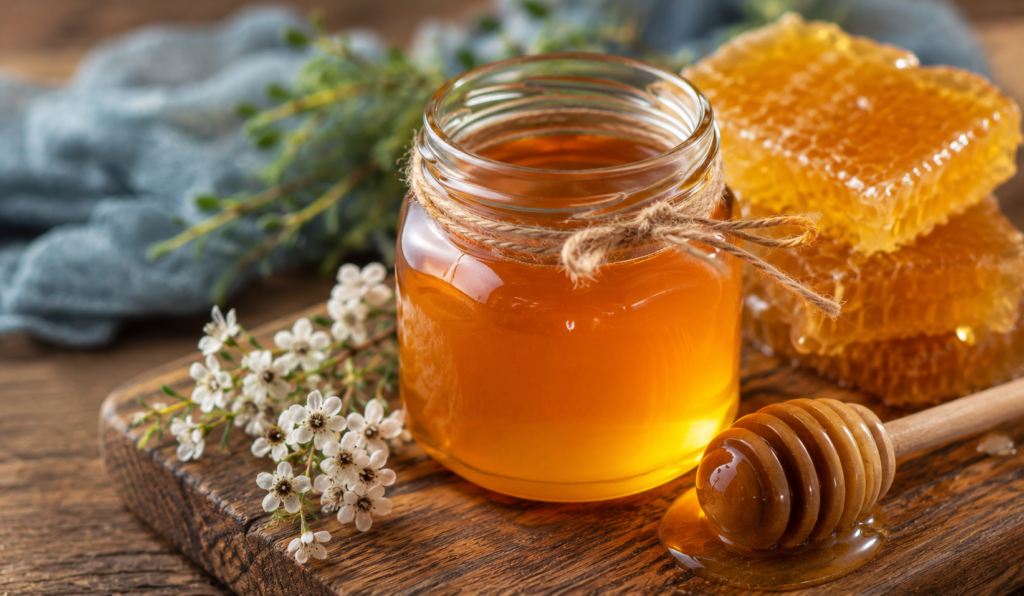
Honey — A natural humectant that draws moisture from the air into the hair shaft and locks it in. Honey also has mild antimicrobial properties that benefit scalp health. When combined with protein-rich ingredients like egg or yogurt, honey creates a beautifully balanced treatment that both strengthens and hydrates simultaneously.
My Three Favorite DIY Keratin Treatment Recipes
Over the months of experimenting, I have landed on three core recipes that I return to again and again depending on what my hair needs at any given time. Each one targets a slightly different concern while all delivering that foundational smooth, frizz-reduced result I am always chasing.
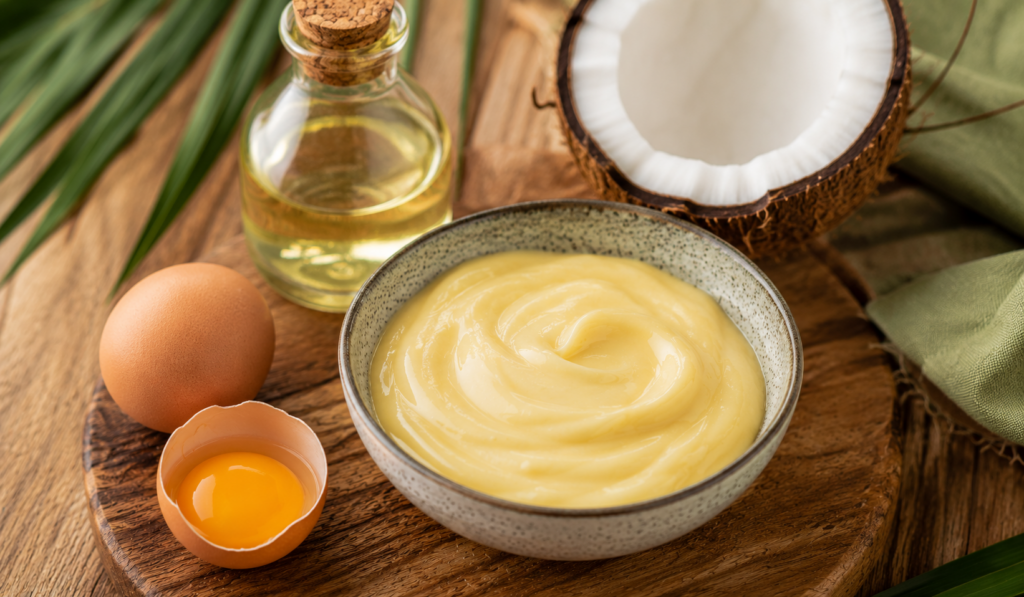
Recipe One: Classic Egg Coconut Protein Mask
This is my go-to weekly treatment simple, effective, deeply nourishing. I use it for general maintenance between more intensive sessions.
Whisk together two egg yolks, two tablespoons of warm coconut oil, one tablespoon of honey, and one tablespoon of aloe vera gel until the mixture is smooth. Apply to clean, towel-dried hair from roots to ends, working section by section. Cover with a shower cap and leave on for forty-five minutes to one hour. Rinse thoroughly with cool water never hot, which can cook the egg in the hair then follow with a mild, sulfate-free shampoo. The result is noticeably softer, shinier hair from the very first use.
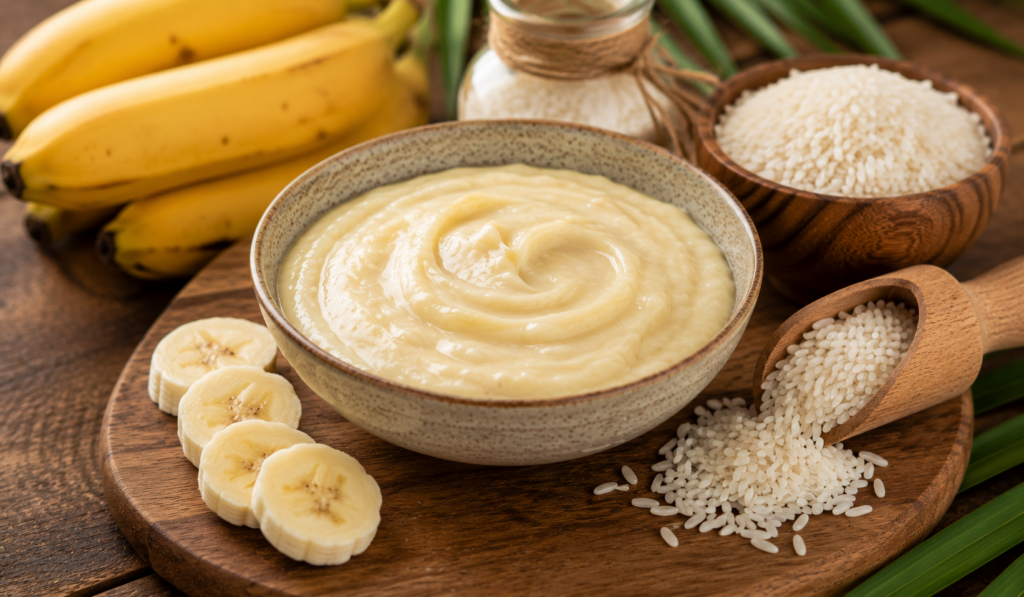
Recipe Two: Banana Rice Flour Smoothing Mask
This recipe is inspired by the natural keratin found in both banana and rice, and it is my most powerful frizz-fighting formula. I use this one every two weeks during monsoon season or periods of high humidity.
Blend one ripe banana until completely smooth with no lumps whatsoever. Transfer to a bowl and mix in two tablespoons of rice flour, one tablespoon of coconut oil, one tablespoon of yogurt, and half a tablespoon of castor oil. Apply generously throughout the hair, focusing on the mid-lengths where frizz is usually most intense. Cover with a shower cap and leave on for one hour. Rinse with cool water, shampoo gently, then finish with a diluted apple cider vinegar rinse one tablespoon in one cup of water poured over the hair for fifteen seconds before a final cool water rinse.
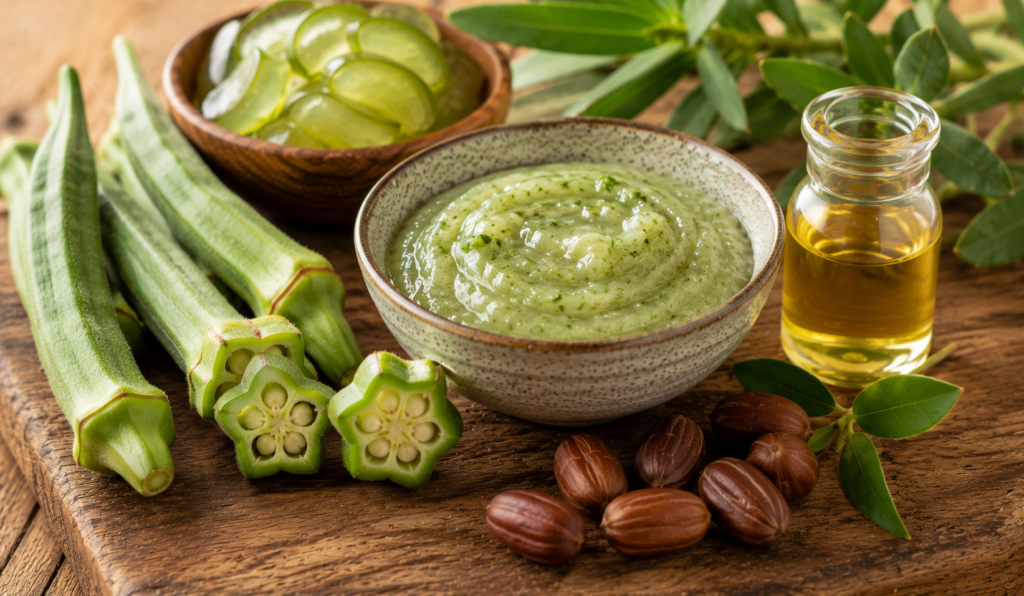
Recipe Three: Okra Jojoba Deep Repair Treatment
This is my once-a-month intensive treatment, inspired by the growing recognition of okra as a natural source of phytokeratin plant-based keratin that nourishes hair from the outside in.
Wash and chop six to eight pieces of okra, then boil in one cup of water for approximately ten minutes until the water becomes thick. Allow to cool completely, then strain the gel-like liquid into a bowl. Mix in two tablespoons of jojoba oil, one tablespoon of aloe vera gel, and one teaspoon of vitamin E oil. Apply to hair from scalp to ends, massage gently, cover with a shower cap, and allow to sit for forty-five minutes to one hour. Rinse thoroughly and follow with a light sulfate-free conditioner. My hair feels remarkably silky for days after this treatment.
How to Apply a DIY Keratin Treatment for Best Results
The recipe is only half of the equation. Application technique matters enormously, and I made several avoidable mistakes in my early months that taught me what not to do.
Always start with freshly washed hair. I use a clarifying shampoo before any treatment session to remove product buildup, sebum, and mineral deposits from hard water. These create a barrier that prevents the treatment ingredients from fully penetrating the hair shaft essentially rendering half the treatment ineffective.
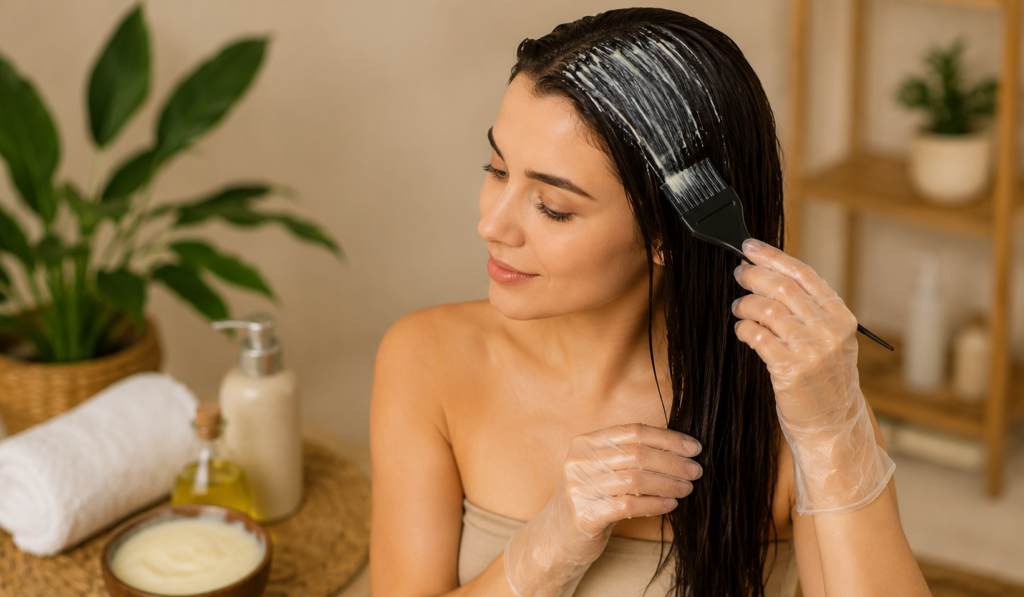
Apply the mask to damp hair, not soaking wet. Towel dry until the hair stops dripping, then begin applying the treatment section by section using a wide-tooth comb to ensure even distribution from root to tip. Sectioning is not optional if you want consistent results it is the single biggest difference between a treatment that works and one that leaves patchy results.
Heat amplifies the treatment. Once you have applied the mask, cover your hair with a shower cap, then wrap a warm towel around it. The gentle heat helps ingredients penetrate the cuticle more deeply. I usually spend those forty-five minutes doing something else entirely reading, working, meditating while my hair does its quiet repair work.
Always rinse with cool or lukewarm water, never hot. Hot water lifts the cuticle right back open, undoing the smoothing effect of the treatment before you have even left the bathroom.
Finish with an apple cider vinegar rinse. This final step is the one most people skip, and it makes a significant difference. The mild acidity of diluted apple cider vinegar closes the cuticle, seals in the treatment, flattens the hair surface, and dramatically increases shine.
Styling Smooth Hair for Fashion-Forward Looks
Once my DIY keratin routine became consistent, I noticed something beyond the hair health improvement my styling options expanded completely. Smooth, frizz-free hair is genuinely more versatile from a fashion perspective.
Sleek, low ponytails that once looked messy now sit polished. Blowouts that lasted half a day now hold through an entire evening. Updos that required excessive pinning now stay in place with minimal effort. Even natural air-dried hair which I could never previously wear confidently because of frizz now dries into a smooth, defined texture that works beautifully on its own.
From a fashion styling standpoint, smooth hair acts as a neutral backdrop that lets clothing, accessories, jewelry, and makeup speak more clearly. There is a reason runway models so often have sleekly groomed hair it removes visual noise and allows the rest of the look to come forward with intention. A well-maintained DIY keratin routine at home achieves exactly that effect.
Frequently Asked Questions About DIY Keratin Treatment at Home
Q: How often should I do a DIY keratin treatment at home?
A: For most hair types, once every one to two weeks is ideal for a lighter maintenance mask. A deeper, more intensive treatment like the okra mask works best once a month. Over-treating with protein can lead to brittle hair, so balance with moisturizing treatments in between.
Q: Will a homemade keratin treatment last as long as a salon treatment?
A: Not exactly. A professional salon keratin treatment uses heat-sealed synthetic keratin that can last three to five months per session. A natural DIY treatment provides cumulative improvement with regular use after four to six weeks of consistent weekly treatments, the overall smoothness, shine, reduction in frizz becomes noticeably sustained.
Q: Can I do a DIY keratin treatment on color-treated hair?
A: Yes. Natural ingredient-based treatments are generally gentle on color-treated hair. Avoid treatments containing apple cider vinegar in large amounts if you have recently colored, as the acidity can slightly affect color vibrancy. Use it diluted as a rinse only.
Q: Is there a risk of protein overload with these treatments?
A: Yes, protein overload is real. Signs include hair that feels stiff, dry, or snaps easily when stretched. If you notice these signs, pause protein treatments for two to three weeks and focus exclusively on deep moisturizing masks using ingredients like avocado, olive oil, or shea butter.
Q: Do I need to use heat to seal in the treatment?
A: In professional treatments, heat is essential because it opens the cuticle to allow synthetic keratin to bond. With natural treatments, heat helps but is not absolutely required. Using a warm towel wrap or sitting in a warm environment is sufficient to boost penetration meaningfully.
Q: Can someone with a sensitive scalp use these recipes?
A: Most of these ingredients are extremely gentle. However, I always recommend a patch test on the inner wrist before applying any new recipe to the scalp. If you have a known egg or nut allergy, substitute accordingly for example, replace coconut oil with jojoba or sweet almond oil.
Conclusion
My hair journey from frizzy, chemically dependent styling to naturally smooth, confidently worn hair has been one of the most rewarding beauty shifts I have made. The investment is minimal, the ingredients are accessible, and the results speak for themselves every single morning. If you have been putting off trying a DIY keratin treatment because it seemed complicated or uncertain, I hope this guide gives you the confidence to begin this week.
You will also like the DIY face mask.
About the Author